How to Run a Smart Test: Testing Email Deliverability via a Smart Address
Want to test an email without manually adding the entire seed list? With a Smart Test, you can send your message to a single email address, and GlockApps will automatically send it to the selected seed addresses for deliverability testing.
In this tutorial, we’ll show you how to connect your sending mailbox, set up a Smart Test, send your email, and view the results.
How to Run a GlockApps Smart Test: Step-by-Step Tutorial
With a Smart Test, there’s no need to import the full seed list in your ESP or copy-paste the test ID into your email message.
The process is simple:
- Integrate GlockApps with your email account.
- Gererate a proxy email address.
- Send your email to this email address.
GlockApps will automatically distribute the message to the seed addresses at the mailbox providers you selected and collect the results for your test.
You can connect multiple mailboxes to the GlockApps email spam testing tool using integrations and test emails through each account.
Here are the steps to follow:
1. Connect Your Mailbox.
In your account, go to Inbox Insight -> Connected Mailboxes.
Click “Create Connected Mailbox.”
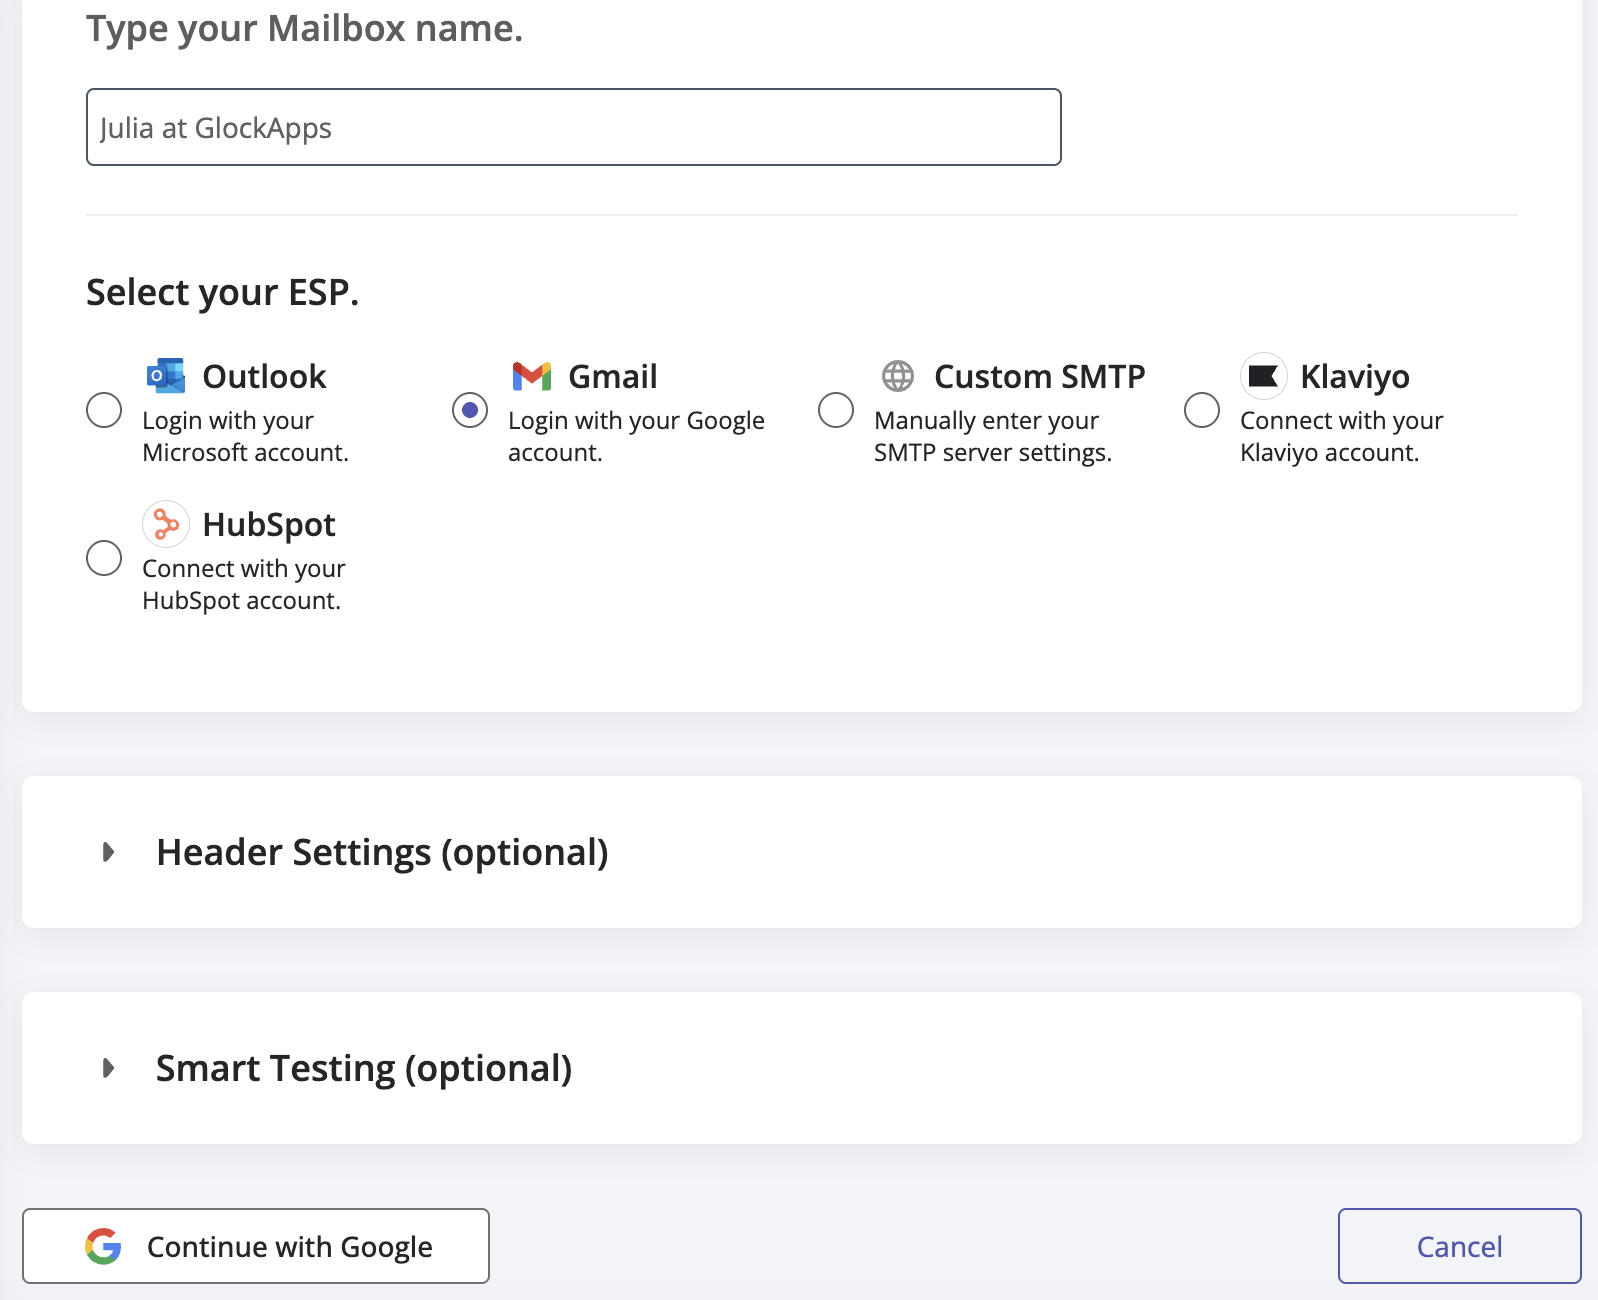
Type a mailbox name. It can be any name in order you can recognize the connected mailboxt in the dashboard.
Next, select the email service provider you want to connect with.
The available integrations are: Outlook, Gmail/Google Workspace, Klaviyo, Hubspot, and Custom SMTP.
Click “Continue” and complete the integration. Make sure to give the right to the ESP to send emails on behalf of your account.
With the Ciustom SMTP option, you can connect to any email service by entering the SMTP settings and login credentials manually.
From name – the name that will be associated with your email address.
From email – the email address your emails will be sent to the seed list from.
SMTP server – the name of the SMTP server.
Port – SMTP port number (465 or 587).
Security protocol – none or SSL. The “none” option works as STARTTLS.
SMTP username – login for your account with the SMTP server. As a rule, it’s the full From email address.
SMTP password – password for your account with the SMTP server. If your SMTP user doesn’t require authentication, type nopassword in the Password field. The username can be any or empty. With nopassword, the username is ignored.
You can refer to your email service provider’s documentation regarding the SMTP settings to be used.
2. Configure Header Settings (optional).
When sending your message to the seed list, GlockApps will only retain certain message headers such as ‘MIME-Version’, ‘Content-Type’, ‘Reply-To’, ‘List-Id’, ‘List-Unsubscribe’, and ‘Subject’. However, if you wish to keep other message headers, list them in the “Headers from the email” field, separated by commas.
Additionally, you can indicate new headers that you want to add to the email sent by GlockApps to the seed list.
3. Configure Smart Testing Settings.
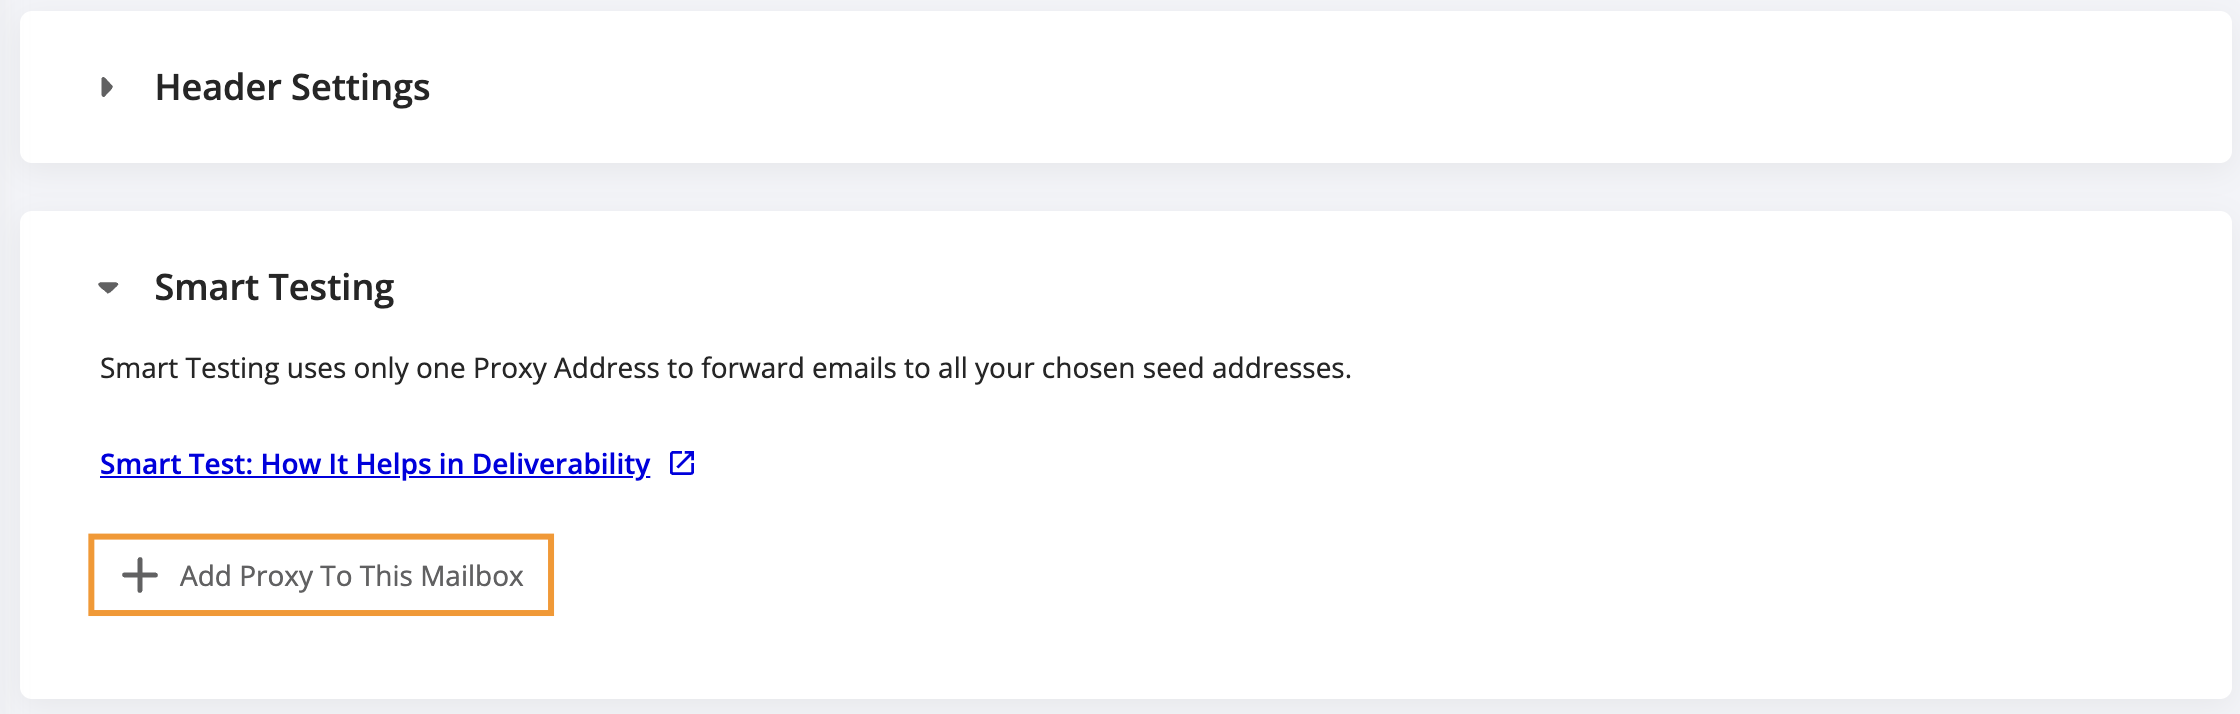
Click on Smart Testing to configure parameters for smart tests and generate a proxy email address.
Next, click “Add Proxy to this Mailbox”.
Spam Filters
Select the spam filters to test your emails with.
Email Providers
Select the email providers to test your messages with.
Send Throttling
Next, set the email throttling if required.
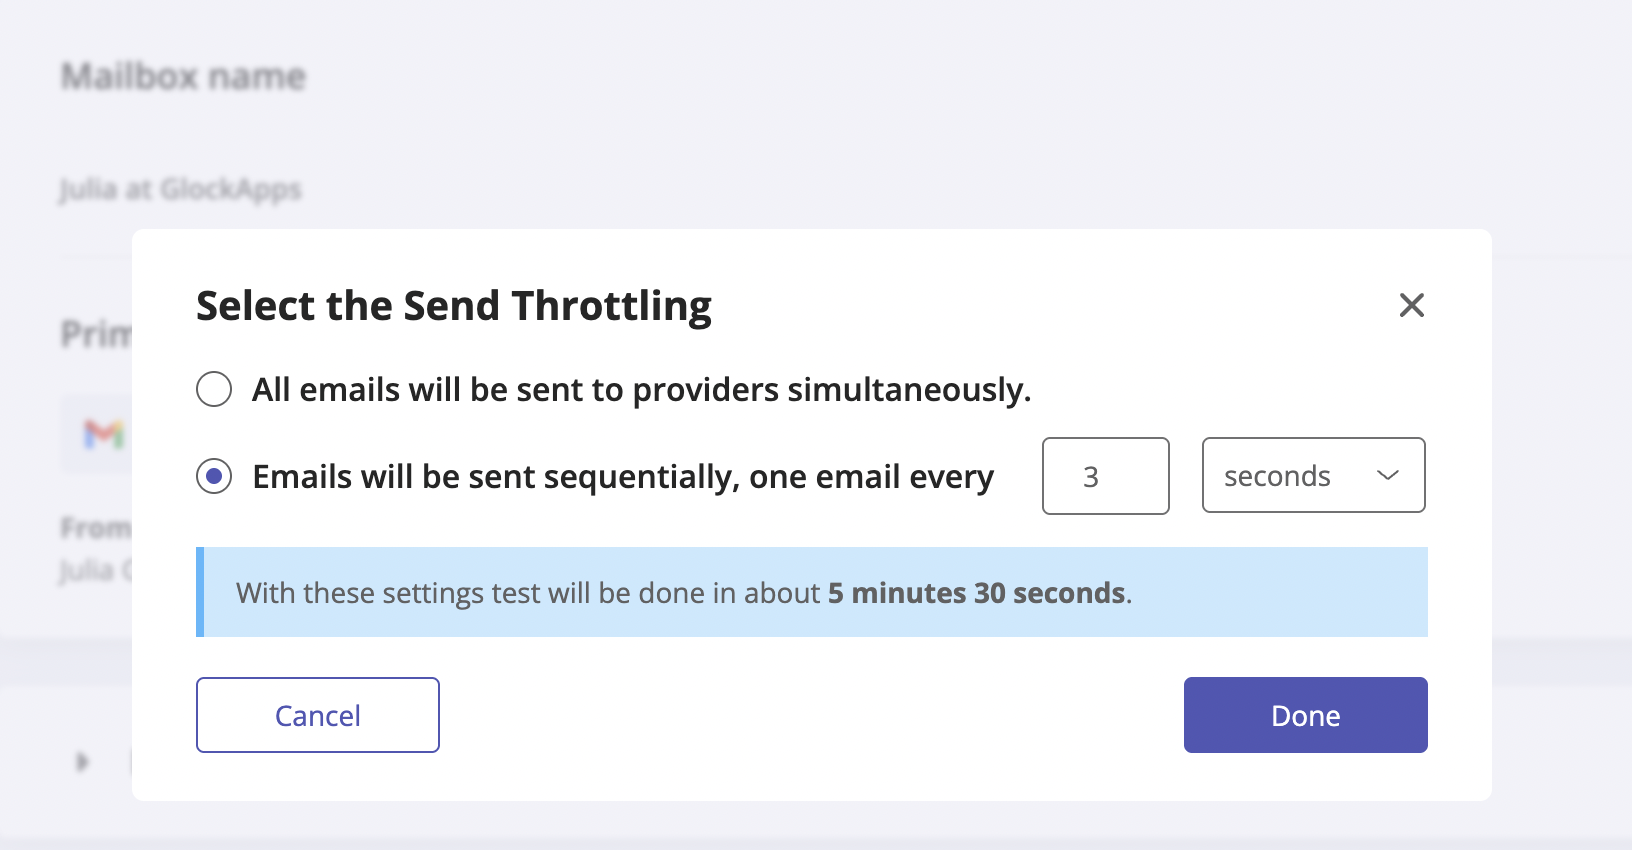
By default, GlockApps, will send the message to the full seed list at one go.
To spread email sending over time, click “Change Throttling”.
This may be a safer sending mode if you are concerned about your email reputation or if the connected mailbox has any sending restrictions.
Choose the “Emails will be sent sequentially, one email every xx seconds (minutes, hours)” option and set the interval between the messages.
Clock “Done.”
Folder for Smart Test Reports
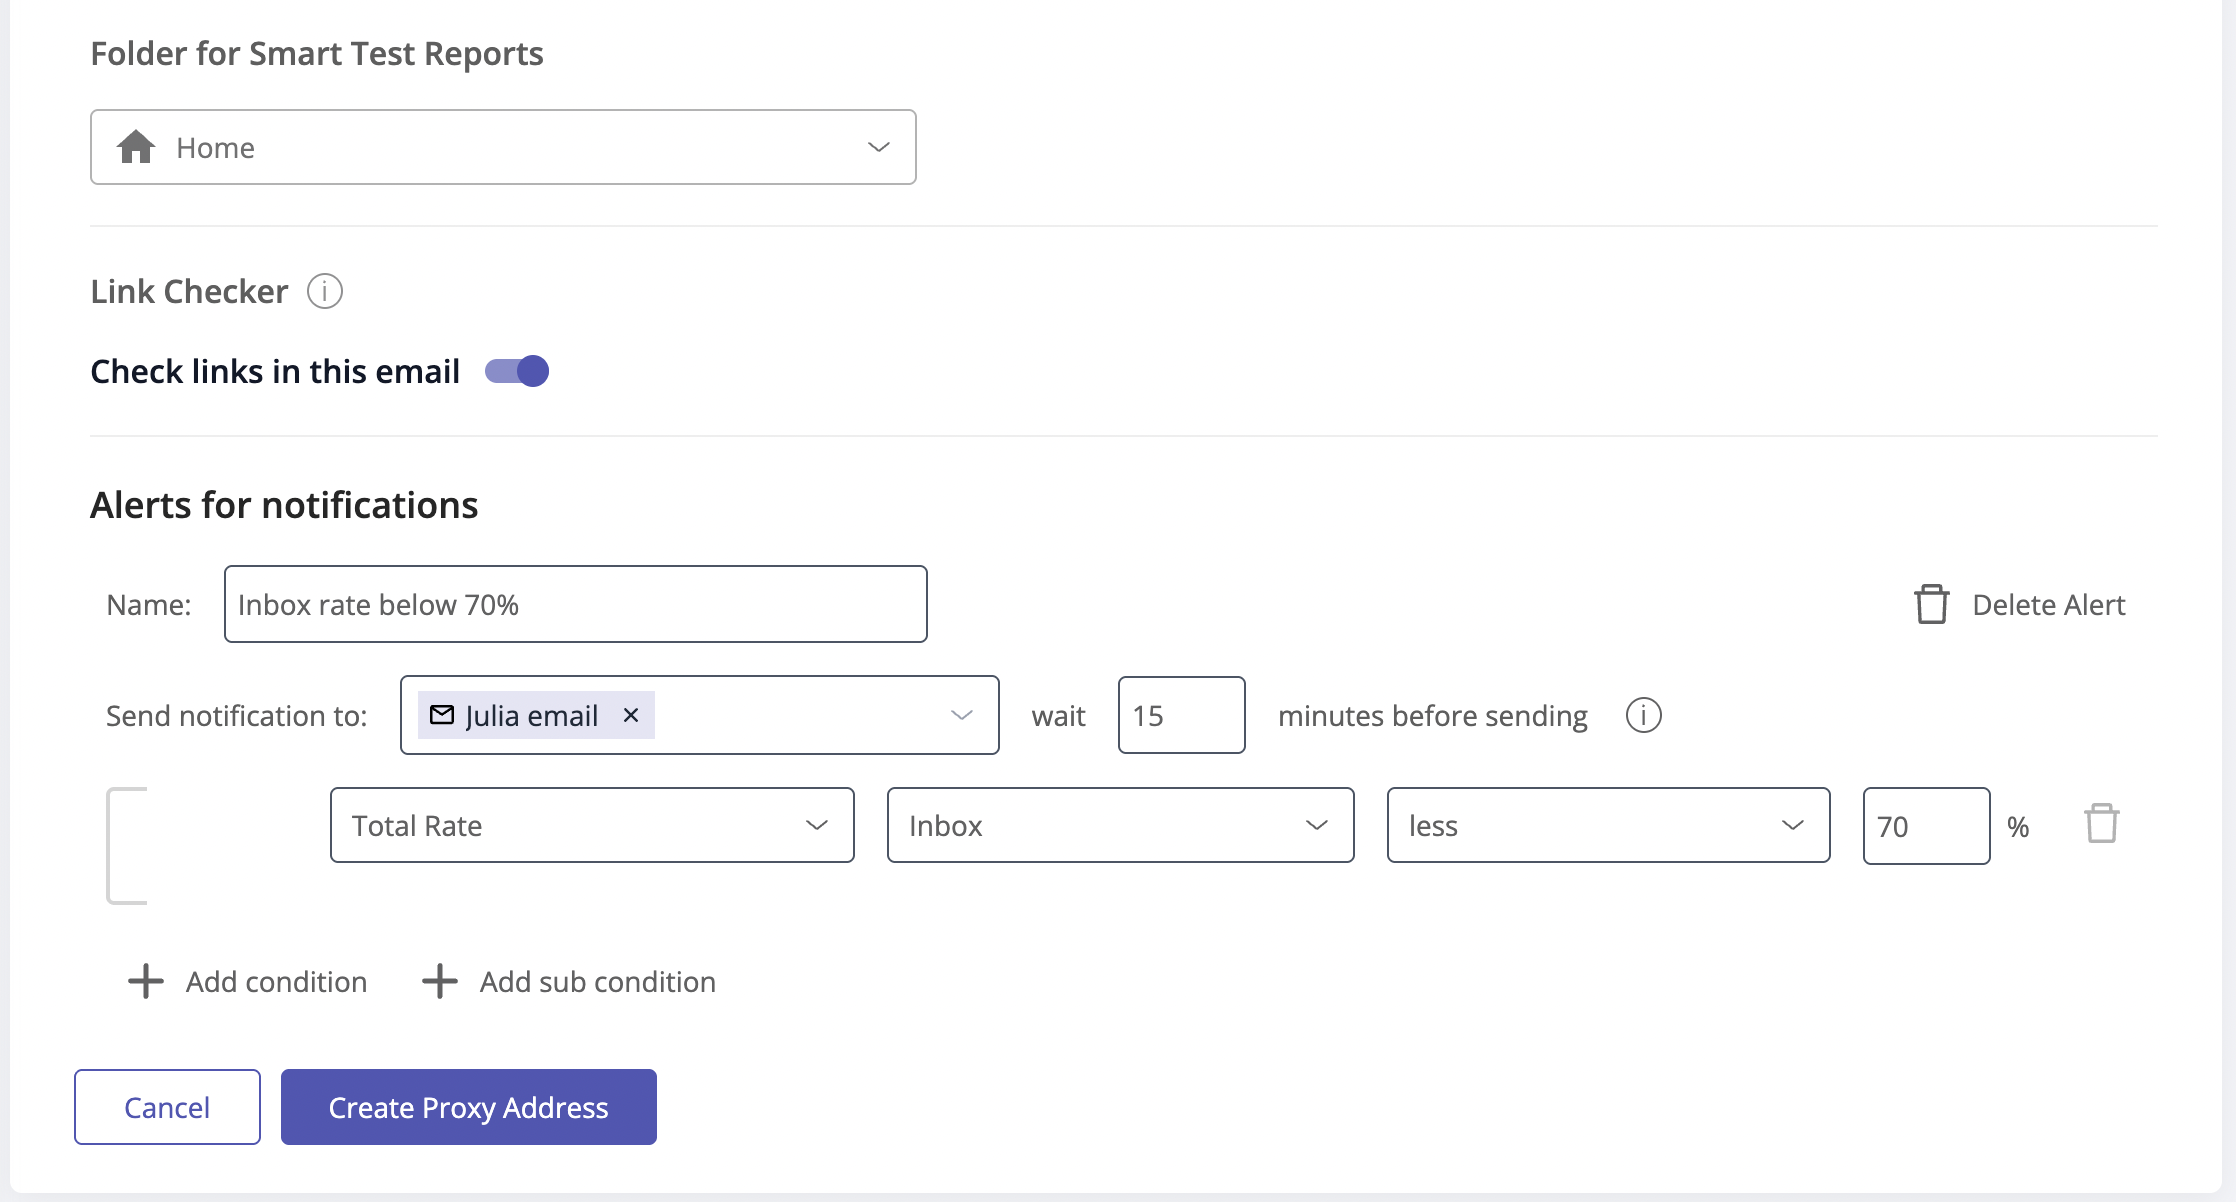
Next, you can choose a folder to save smart tests and their reports.
By default, the tests will be saved to the Home folder in Reports > Smart Tests. You can choose a different folder or create a new folder right from the menu.
Link Checker
GlockApps verifies the links used in the email to provide you with a report about valid and invalid URLs. The exception is the unsubscribe link which is not followed.
You can disable the Link Checker for smart tests if you don’t use URLs in the messages or don’t want to have the links clicked.
Alerts for Notifications
Optionally you can set up conditions for notifications that will inform you when the test results meet a defined condition. For example, you can be alerted when the total Inbox rate is lower than 70% or the Gmail’s Inbox rate is lower than 90%.
Enter a notification name.
Select the alert channel in the “Send notification to” menu. It is possible to select multiple channels at a time.
Enter the interval in the “Wait xx minutes before sending” field. This indicates how much time GlockApps waits before sending the alert to you. The recommended interval is 15-20 minutes — within this time frame the test is completely finished as a rule.
Next, add the condition(s) for the alerts to be sent.
When done, click “Create Proxy Address”.
4. Send Email to the Proxy Email Address.
Copy the proxy email address and send the message to it.
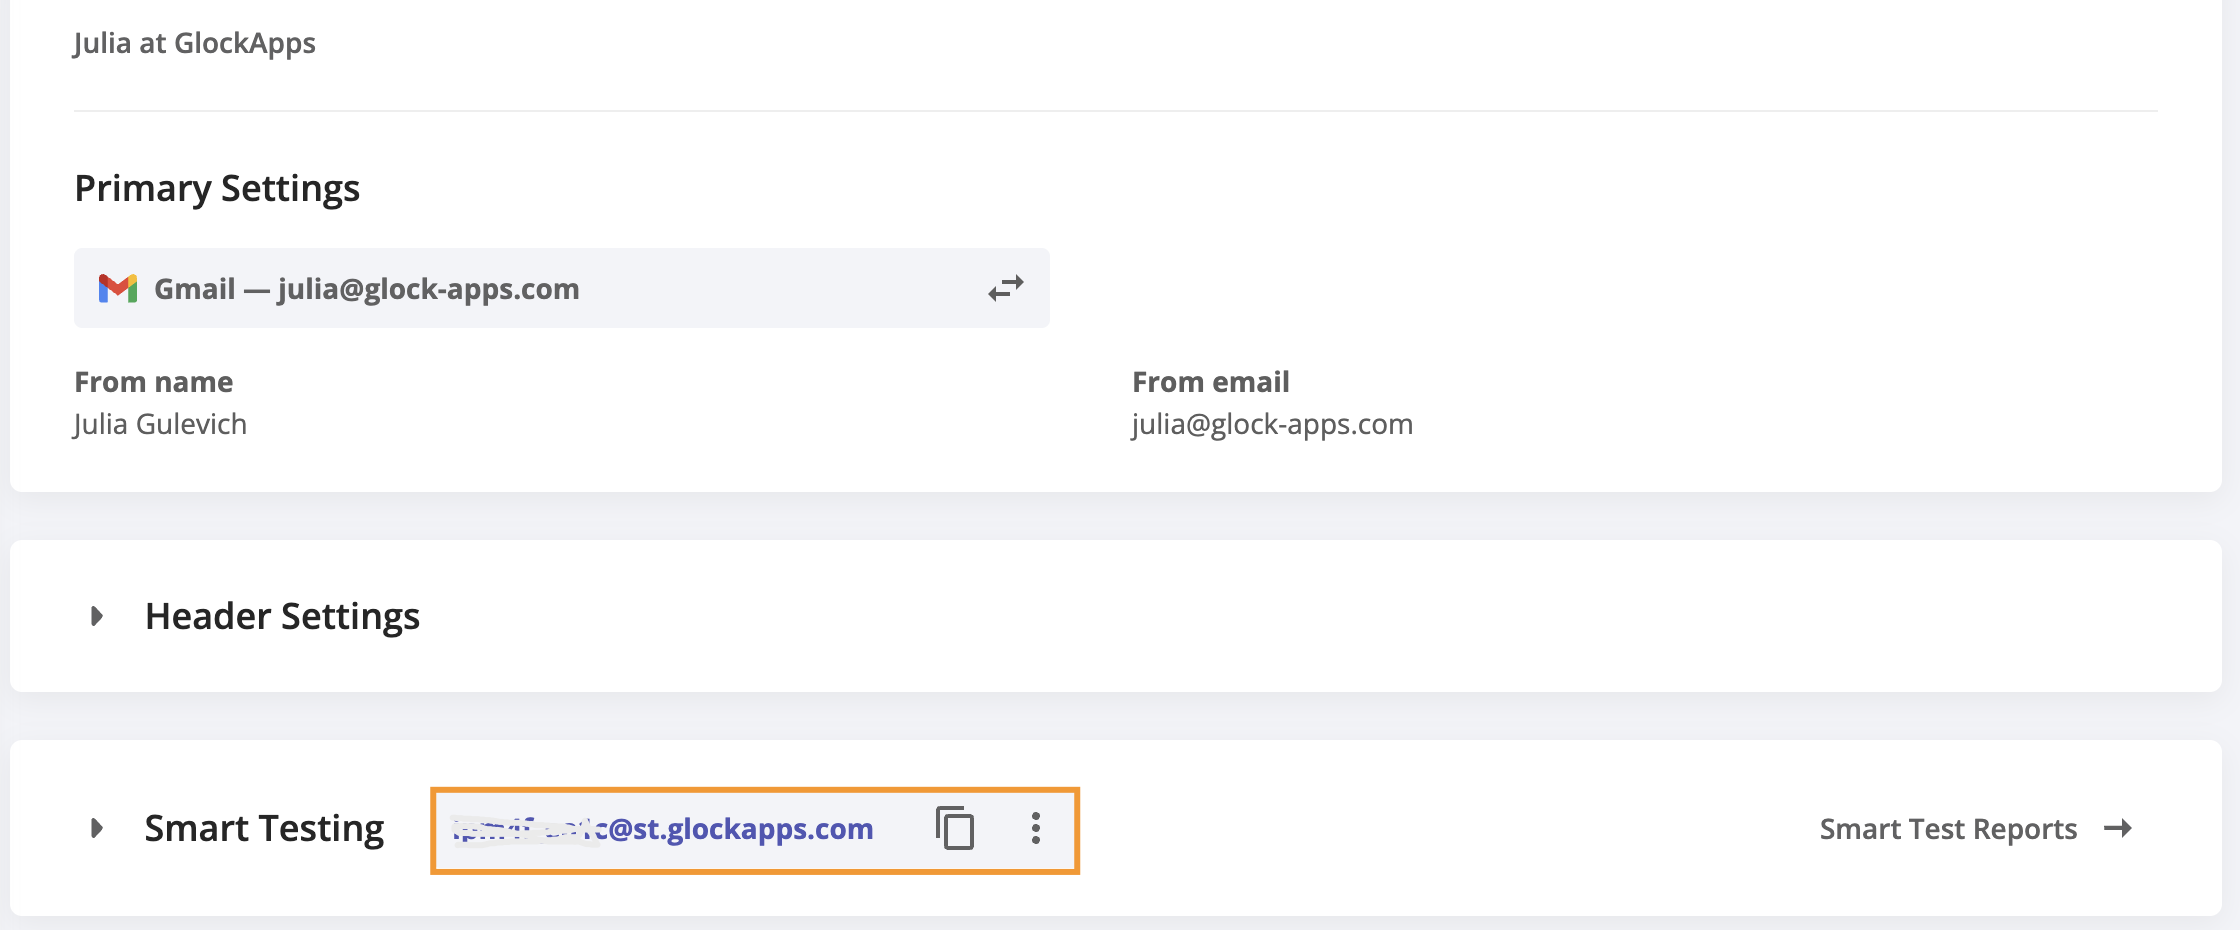
When the message is received by the proxy email address, our system re-sends it to the seed list via your connected mailbox. The test will be created in the chosen folder in Reports > Smart Tests. You can go to the folder, click on the test, and view the deliverability report.
Important!
- You can use the same smart (proxy) email address as many times as you need. Each message sent to the smart email address will create a new test in GlockApps. Over time, proxy email addresses may be spread across different mailing lists and may be abused by malicious senders. To avoid this, you can use the Regenerate option to create a new proxy email address associated with the connected mailbox.
- If your SMTP server only accepts the connections from allowed IP addresses, add the GlockApps IP address 44.213.216.19 to your allowed senders list or whitelist.
Additional information:
Each ISP or mailbox provider stores information about the sender and outgoing mail servers used to send large volumes of emails to it. They track how the recipients engage with the received emails and over time each sender gains a reputation, good or otherwise. ISPs update their filtering algorithm on a regular basis depending on how they treat the sender at this time. In your GlockApps dashboard, you can see your current sender reputation and know if any of ISPs such as Gmail, or popular filters are flagging your email as spam.
Learn more: Improve Email Deliverability: Insights and Best Practices That Really Work
Related Posts
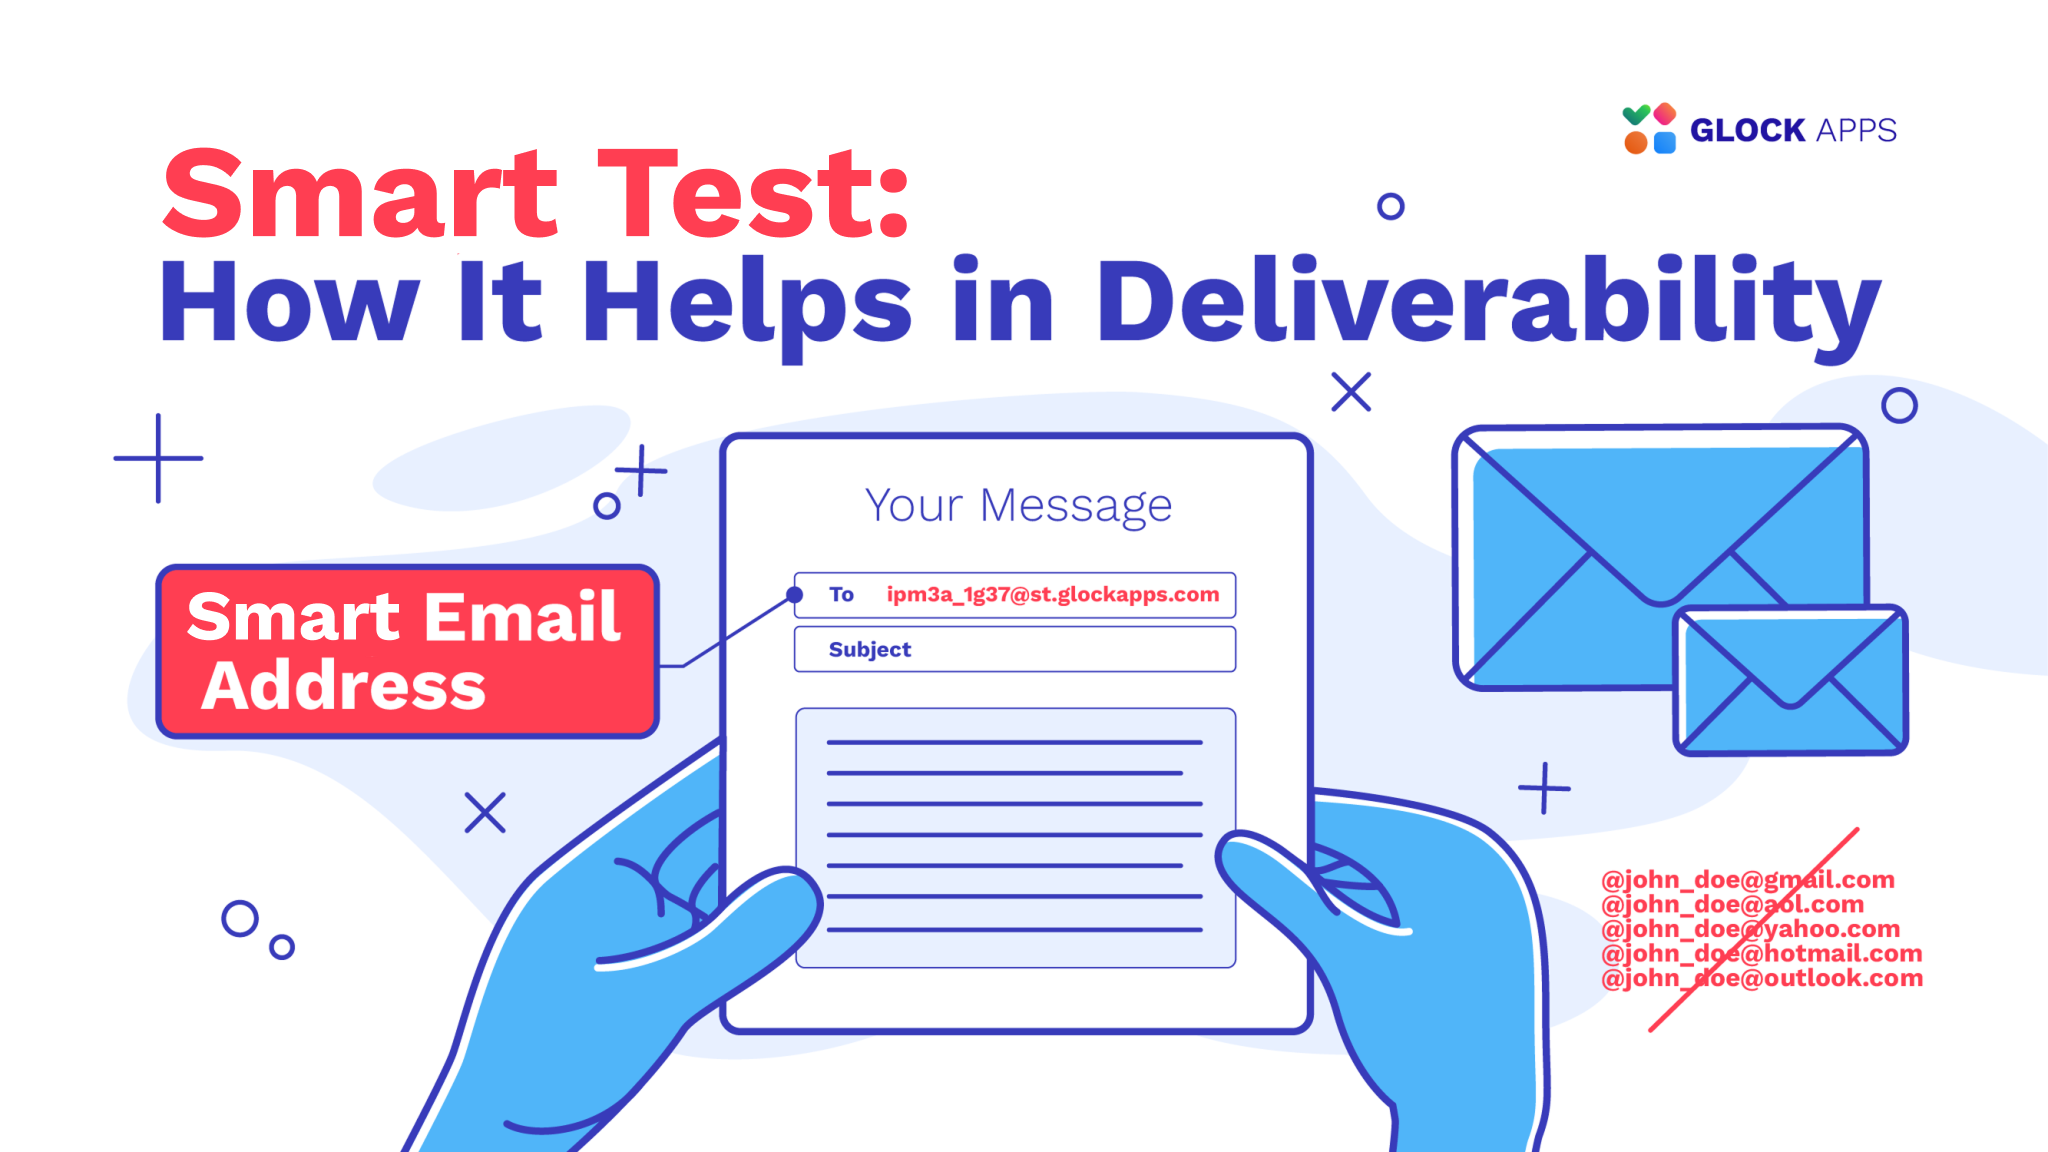
GlockApps provides a unique proxy testing solution designed to streamline and simplify your deliverability checking process and address any issues Read more

How to Use Inbox Insight Ensure Your Emails Reach the Inbox to Improve Your Email Marketing Performance Deliverability rates determine Read more

How to Test Your Email Campaigns Daily on Auto-Pilot You can use GlockApps Inbox Insight to create automatic tests and Read more
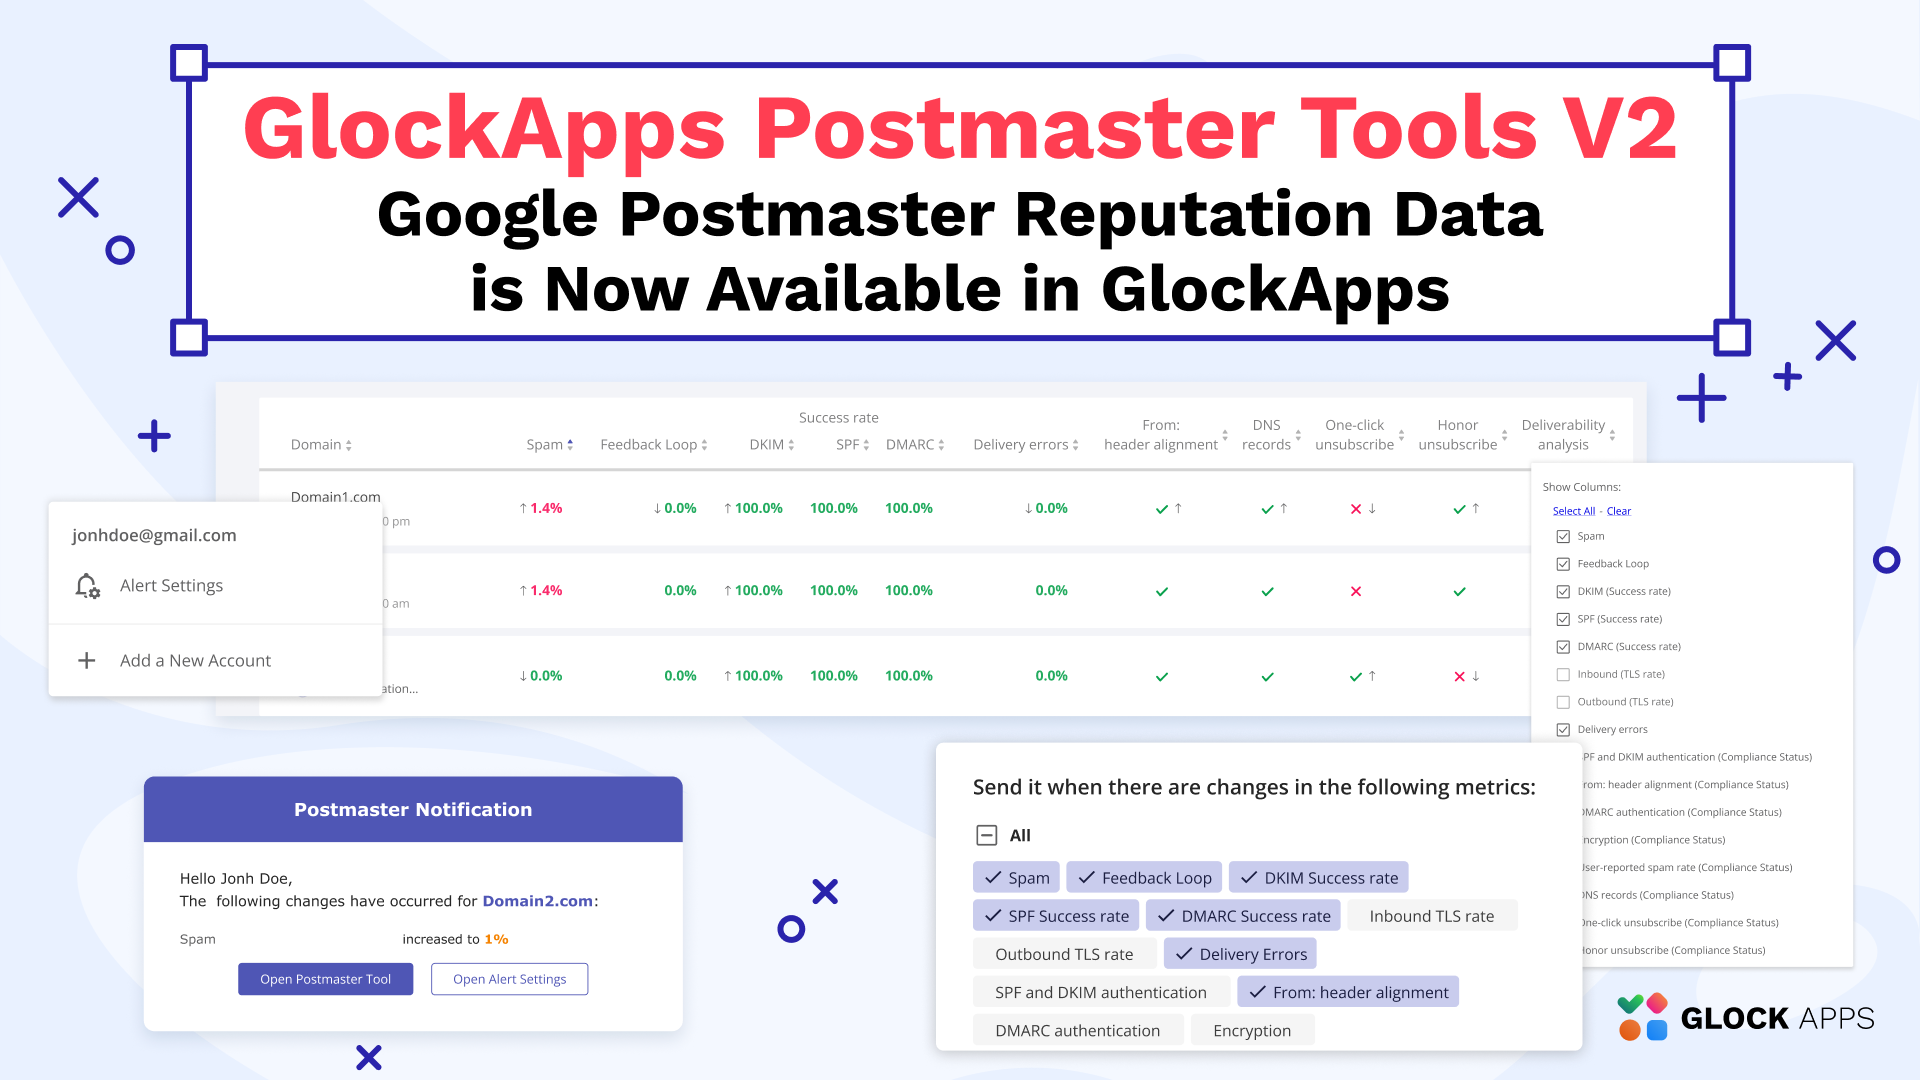
Google Postmaster is a helpful resource for senders to diagnose and resolve email deliverability issues. It provides crucial insights into Read more