Test Inbox Email Delivery and Spam Score of a MailerLite Email Campaign
No matter what email sending software or email service provider you are using to send email campaigns, you can use the GlockApps free email spam checker to test the Inbox delivery and spam score of your email campaign before you send it to the list of real subscribers.
In this tutorial, we’re going to guide you through the steps how to use GlockApps for testing MailerLite email campaigns.
Starting Inbox Insight Test
Login to your GlockApps account.
Go to Inbox Insight at the left side.
Click Start Spam Test -> Start Manual Test.
Select the spam filters and mailbox providers and click Next.
Optionally select a folder to save the report, add a note for the test, and disable the link checker, and click Create.
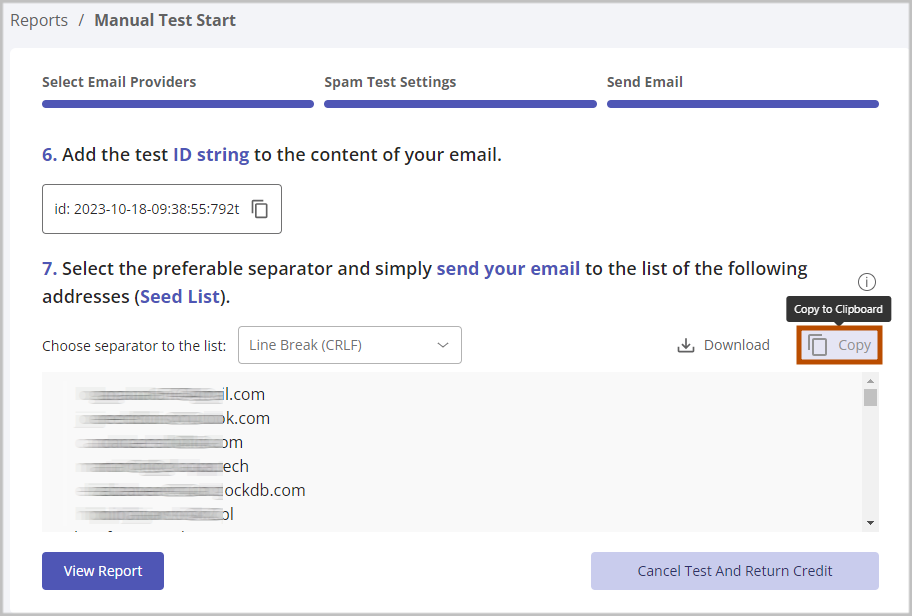
Select Line Break as the separator for the email addresses on the seed list.
Сopy the seed list.
Importing Seed List in MailerLite
Login to your MailerLite account.
Go to the “Subscribers” tab and click “Add new group.”

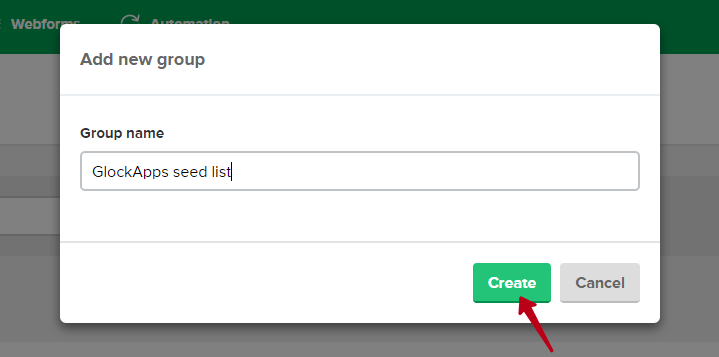
Enter a group name, for example, GlockApps seed list, and click “Create.”
Click on “Add new subscribers.”
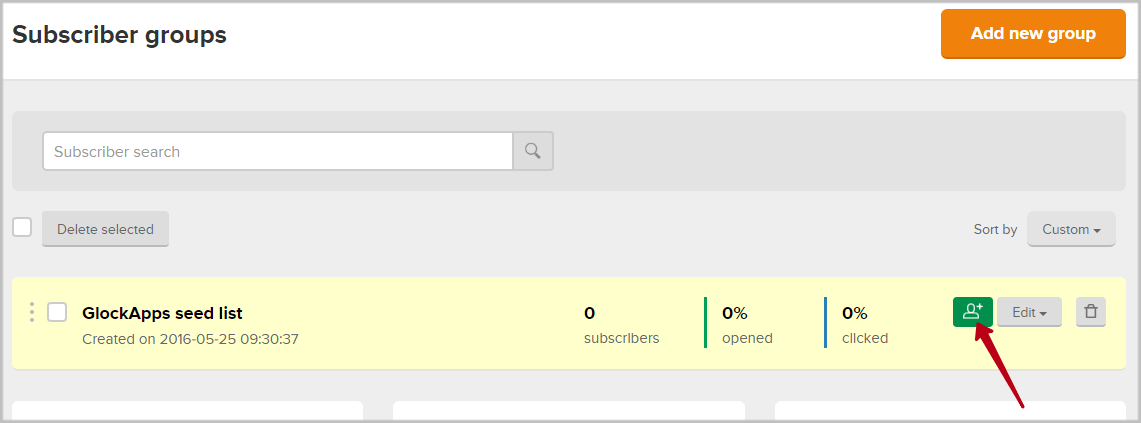
If there is no copy-paste option in MailerLite, paste the seed list to a TXT or CSV file and import it.
Select the file with the seed list emails on your computer and click “Import.”
Make sure that the Column 1 belongs to Email and click “Finish adding subscribers.”
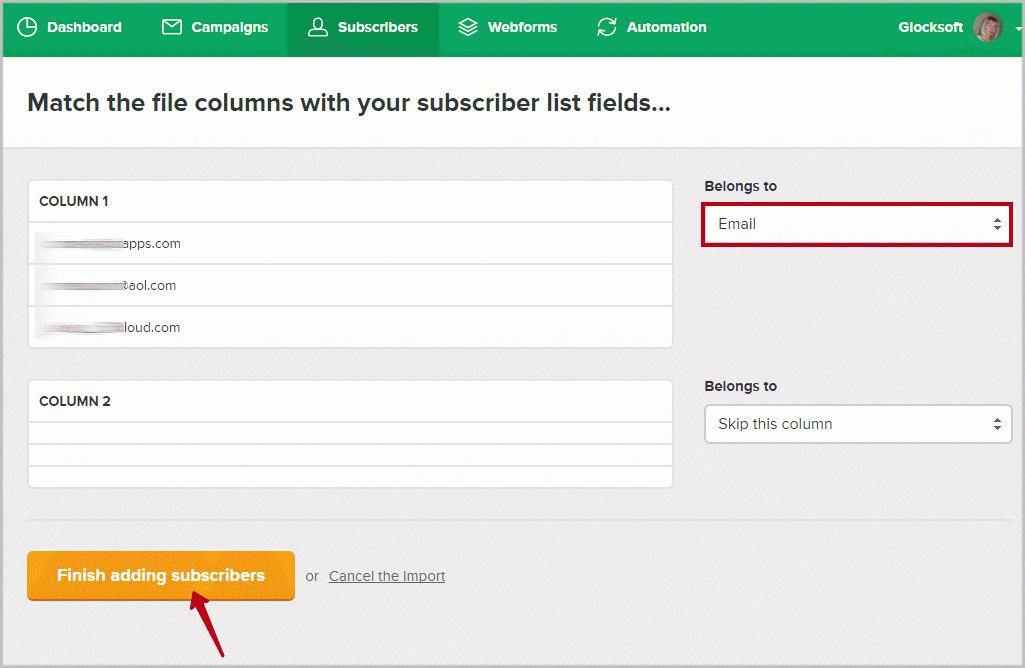
Note: MailerLite may skip one email address from the seed list according to their policy. That email address is used to test the message against the Barracuda filter. So, you can then add the skipped email address to your seed list group manually using the “Add single subscriber” option.
Sending Message to Seed List from MailerLite
Go to GlockApps and copy the test ID.
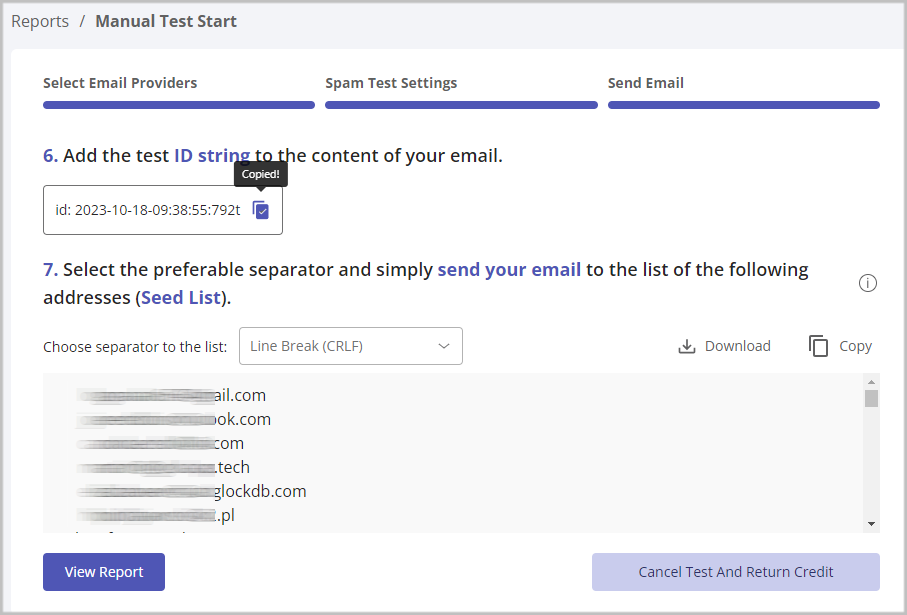
Return to MailerLite, go to “Campaigns” and create a campaign
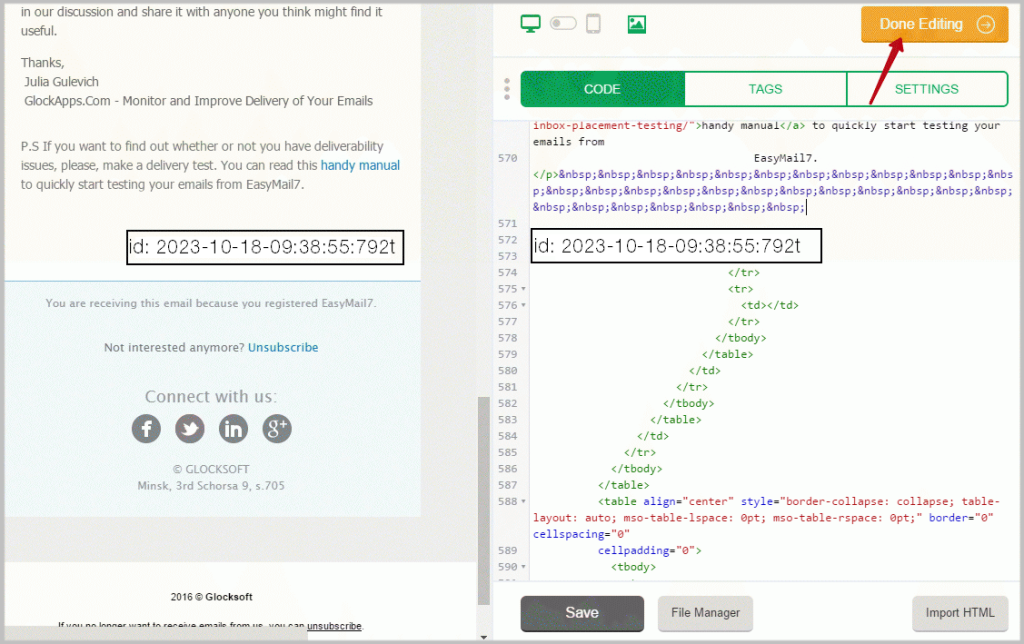
Paste the test ID into the message body at any place or in the Subject line.
Click “Done Editing.”
Choose your GlockApps seed list group and click “Next: Review and confirm.”
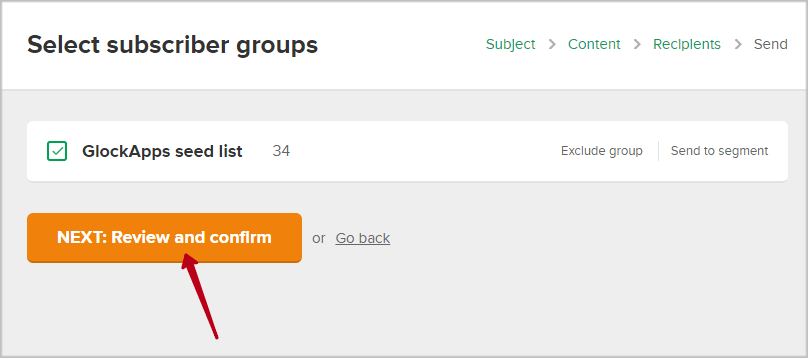
After you review your campaign and confirm it, choose the “Send Now” option and click “Send.”
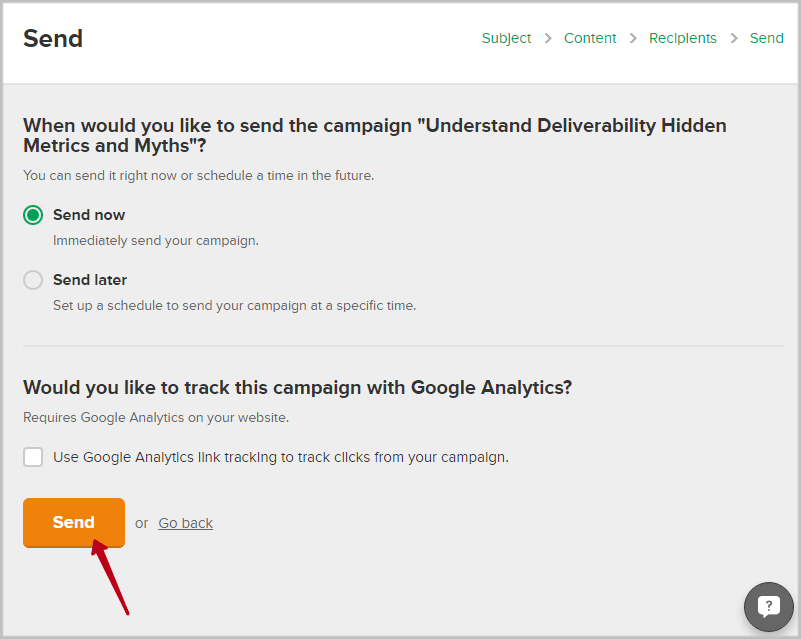
When your campaign is sent, go to GlockApps and click “View Report.”

