Sending accounts are used to create automatic tests and email tests via proxy email addresses. You can use the SMTP settings of most popular mailbox providers such as Gmail, Google Workspace, Outlook, and Office 365 and the SMTP settings of email service providers and delivery services that allow to use their SMTP servers in third party applications.
Below are the steps to create a sending account with the Gmail SMTP settings:
In your account, go to Inbox Insight -> Sending Accounts.
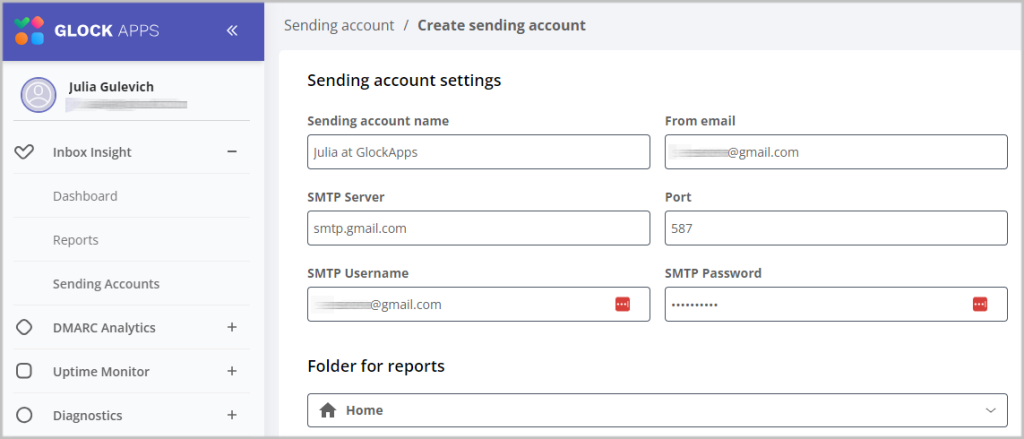
Click Create Sending Account and enter the information:
Sending account name: any name that you want to appear in the From field if your emails
From email: your email address set up with @gmail.com
SMTP server: smtp.gmail.com
Port: 587
Security protocol: none (works as STARTTLS)
SMTP username: your email address set up with @gmail.com
SMTP password: the App password created in your email account set up with @gmail.com.
How to Create an App Password
Login to your Google Account.
Click Settings > See All Settings.
Go to the Accounts tab and click Google Account Settings.
Go to the Security tab.
Click on 2-Step Verification. If it’s turned Off, turn 2-Step Verification to On.
At the bottom of the page, click App passwords.
Enter a name that helps you remember where you’ll use the App password, for example GlockApps.
Select Generate.
Copy the 16-character code.
Click Done.
Paste the App password in the SMTP Password field in the sending account settings.
You may want to save this App password to a safe place in order you can use it again in the future.
Choose a folder to create tests made via this sending account in.
Select the spam filters and email providers to be used for the tests made via this sending account.
Click Check & Create.
Read also: What’s Causing the 550 SMTP Error and How to Fix It?